Replacement Vape Coils - Complete Guide (Explain in Detail)
Aug 23, 2021
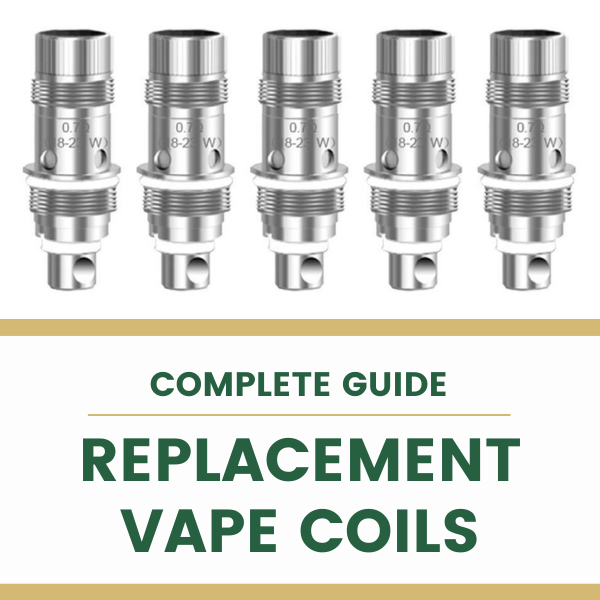
Replacement Vape Coils

There is a lot of technical jargon to get to grips with when you first make the switch from smoking to vaping and we can’t blame you for getting a bit overwhelmed. From Sub-ohm tanks to High PG E-liquid, to Clearomizers - “Is that even a word?” You ask yourself scratching your head - there’s a lot to take in, so at Vape Shop we like to do our best at clearing up the confusion a little bit.
Today we thought we’d go over something relatively simple (well, hopefully anyway) and this is replacement vape coils. Your coil is one of, if not the most important component of your vape kits, referred to by many experts and enthusiasts as its heart.
The coil is the component that heats your E-liquid and evaporates it, turning it into vapour. The coil resistance is adjusted according to how many wraps of a wire you have, the gauge and the type of wire. Coil resistance is measured with devices called Ohmmeters, which are designed to measure electrical resistance in general. Low resistance coils produce warmer vapour and thick clouds, while high resistance coils produce a cooler vapour with more concentrated clouds.
Vape coils are very simple mechanical devices, and some more seasoned vaping enthusiasts like to build their own. All that’s needed to construct a vape coil is coiled wire, a piece of mesh and some wicking cotton.
Different Types of Vape Coil

Ceramic Coils
The recommended coil type for vapers who prefer a smoother draw. Ceramic coils tend to be compatible with high wattages, making them ideal for use with high-powered mods. Ceramic coils generally last longer than some of their counterparts like cotton coils, so you’re less likely to have to deal with the dreaded dry hit.
Titanium Coils
Compared with other materials, Titanium wires are relatively soft and shapeable. While a bit on the pricier side than say stainless steel or ceramic, Titanium is still a great option to be considered, due to the clean taste it provides and how easy it is to twist and cut. One thing to note is that Titanium is more flammable than other materials used to make coils, so handle with caution.
Kanthal Coils
What do you get when you combine Iron with Chromium and Aluminium? Kanthal. This trusty alloy provides a fast ramp-up time (how long it takes to reach a heat sufficient enough to vaporise your e-liquid) and is capable of producing thick clouds of vapour.
Nichrome Coils
Nichrome’s name is fairly self-explanatory. Consisting of 80% Chromium and 20% Nickel, this alloy, much like Kanthal, has a very fast ramp-up time and offers a dependable level of vapour production. It also protects the heating element from oxidation, which can potentially alter the colour and ruin the taste of your vape juice. Nichrome coils are a favourite among Sub-ohm vapers.
Ohms

As mentioned, Ohm levels are what we use to measure electrical resistance, which has a direct impact on the taste and cloud production of your e-liquid. For those of you who want to have a go at putting your own coils together, it’s important that you measure the electrical resistance with an Ohmmeter to ensure you get your desired vaping experience.
Sub-ohm Coils

Sub-ohm coils have a very low resistance of fewer than 1.0 ohms, providing warmer vapour with a drier it, and thicker cloud production. Sub-ohm coils are used in Direct Lung (DL) vape devices (vapour is inhaled directly into the lungs as opposed to held in the mouth before inhaling), which are generally favoured among more experienced vapers.
Plus-ohm Coils

Higher resistance coils, on the other hand, produce smaller clouds with a cooler hit. They’re also a lot easier on the battery of your device than Sub-ohm coils, so you’ll be able to vape for longer without the battery draining with a Plus-ohm coil.
When Is It Time To Change The Coil?

As you probably would’ve guessed by now, vape coils have a limited lifespan. The PG/VG levels of your vape juice can quickly burn it out, as can your chosen level of wattage and voltage. As expected, regular vapers will have to change their coil fairly often. High wattage, sweet flavours and higher VG vape juices will also burn through your coils pretty rapidly, so make sure you have enough replacements stocked up.

It’ll be pretty clear when it's time to change your coil, as you’ll notice an unpleasant burnt taste in your vapour. This is because your tank has overheated and the coil is no longer able to manage it. Chain vaping can also diminish the lifespan of your coil, as it can overheat and eventually burn your coil out. Burnt wicking material may also hinder the flavour and quality of cloud production in your vape, as it will absorb your vape juice less effectively.
How Long Does A Vape Coil Last?
Regular vapers
Regular vapers should change their coils on a weekly basis. How good your vape juice tastes, cloud production and the general functionality of your device will be hindered if you fail to do so. This rule applies in particular to Sub-Ohm vapers, as they tend to vape e-liquids with a higher VG level. Higher VG liquids are a lot thicker than those higher in PG, and in turn, exhaust the coils at a faster rate.
Moderate vapers
Vapers who use their device consistently throughout the day but only take a few pulls at a time will get more use out of their coil that isn’t getting subjected to intense heat quite as often. Your preferred type of e-liquid and how powerful your vape kit is will be a factor in this, but we’d generally suggest changing them around once every two weeks.
Casual vapers
If you’re the type of vaper who only really takes a few pulls on a night out, for example, you’ll only really need to change your coils every 3-4 weeks.
How To Replace Your Vape Coil
Some coils can simply be pulled straight out from your vape kit, while others require unscrewing. However, there are some general steps you must follow regardless of what type of coil you have when you’re replacing it.
- Unscrew the battery from its tank.- Turn the tank upside down and unscrew the metal bottom cap.
- Remove the coil head from the bottom cap and screw the new coil into it.
- Drop a small amount of vape juice onto each of the wicking ports of the replacement coil. This will prime your coil and reduce the time you have to wait before vaping without a dry hit.
- Reassemble your tank and insert your vape juice. (avoid letting e-liquid contaminate the centre airflow metal tube, as it will hinder its functionality and waste your e-liquid).
- Ensure there are no leaks or spills and reattach the tank to your battery.
- Wait a couple of minutes or so for the wicking material in your coil to absorb the vape juice.
How To Clean A Vape Coil
Over time, your coils will get a bit dirty and build up a layer of burnt e-liquid residue. The simplest way to clean your coil is called ‘dry burning’.
Remove the wicking material from your coil. Then, heat your coil in 2-second bursts by pressing the firing button on your device until it glows orange. Clouds of vapour will begin forming (this is the residue on the surface of the coil being evaporated) which can then be removed by simply blowing it away.
Once you’ve gotten rid of all the excess, leave the coil to cool, blow on it one last time and you’re all set. The first few pulls might taste slightly off, but that’s just the coil getting back to normal.
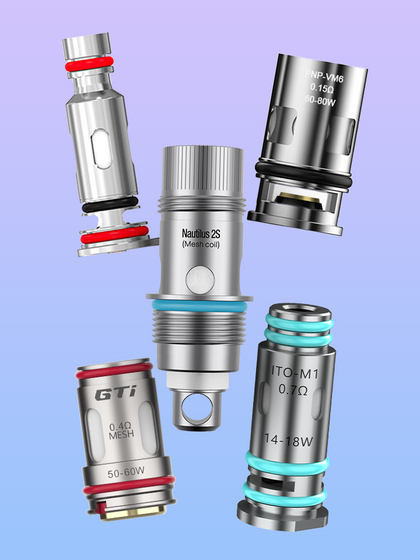
So hopefully this has cleared some things about Coils up for you. Browse through our selection of vape coils here if you’re in need of a replacement!
Leave a comment